Blueprint
Paper Photography
One afternoon, while reminiscing about how I learned in grade school to
make sun prints on construction paper. I wondered how well construction
paper would take an image when exposed to sun trhough a lens. I figured
it would take several hours, if not days, to form such an image. Nevertheless,
I set out to make a camera that would do the job. Such a camera would
be simple, not even needing a shutter, only a lens cover.
Try as I did, I couldn't find any construction paper that would fade in
the sunlight. I guess the new and improved construction paper is
all now fadeproof. But I did happen upon "sunprint paper," used for
the same educational purposes I experienced years ago. Sunprint paper
is a form of blueprint paper that can be completely exposed in just a few
minutes of bright sunlight. It's developed in plain water and drugstore
hydrogen peroxide instead of the messy and smelly ammonia that professional
blueprinters use. It's available cheap at our local blueprint supply.
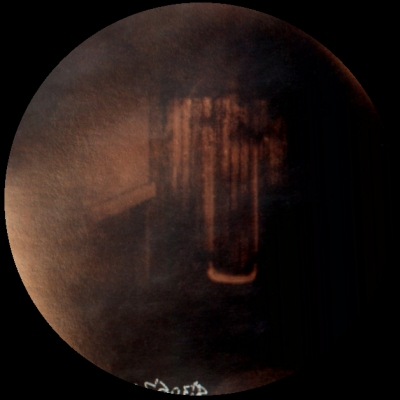
So I put an old copier lens in one end of a cardboard box, then I taped
sunprint paper in the other. I closed up the box, aimed it at my
children's playhouse, and let it sit. After a few hours it produced
the first image below.
Now the images produced are actually blue and white negatives (not shown).
They also come out flipped and rotated from reality due to the way they
are exposed in the camera. To correct this, I scanned the negatives
and used the "negative" command of some photo software. To
my surprise, the color change resulted in some very pleasing tones.
Enjoy the images.
 |
 |
 |
Playhouse
Three
hour Exposure
|
Playhouse
All day
exposure
|
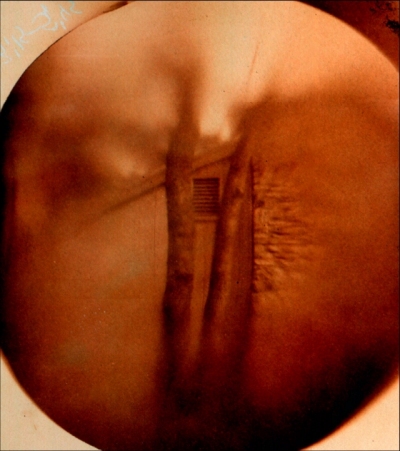
Neighbor's
shed, two hour exposure
(with
very fast, distorting lens)
|
|
|
|
|
 |
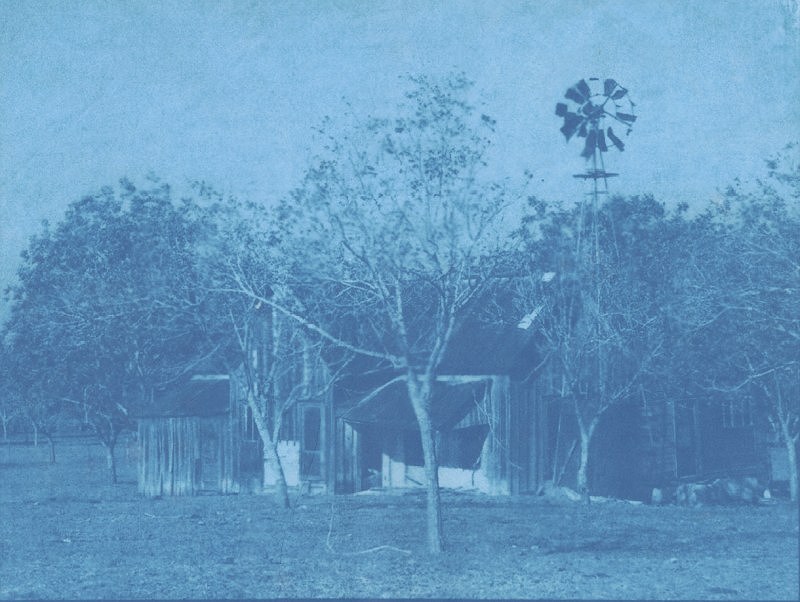
Back
yard and playhouse
All day exposure
Note how
trees are evenly lit horizontally
Still
days are best for long exposures |
|

|
Front
yard and neighbor's driveway
All day
exposure
Bright
streak is setting sun
At the
top you can see where the exposure was so intense it burned a hole in the
paper
|
|

|
Construction
Site
All day
exposure, done on weekend so cranes would say put
I had
a bit of fun with the color rendering
|
Contact
Prints Using Oiled Inkjet Print as Negative
The images below did
not use direct exposure. Instead, I took a regular digital photo
and used software to make a negative to use for contact printing directly
onto blueprint paper.
Here are the steps:
1. Size the image
to where it just fit within 8 1/2 x 11 inches.
2. Use the color
menu to render it in gray scale.
3. Click on the
"negative" button to reverse the shades.
4. Flip the image
left to right.
5. Print it on
normal copy paper
6. Lay the print
on a sheet of newspaper.
7. Pour mineral
oil all over it to where it is fully soaked. (This makes the paper
translucent, where it looks like a real black and white negative.)
8. Remove excess
mineral oil with paper towel.
9. Let the negative
dry on clean paper for 24 hours. This is not necessary, it just helps
keep oil off the blueprint paper.
10. Sandwich the negative
against the blueprint paper between two sheets of glass, expose in
direct sunlight for 5-10 minutes.
11. Inside, separate
the negative and blueprint paper.
12. Handling only by
edges, gently insert the blueprint paper in a tray of warm water and swish
it around for about a minute to remove the chemical. It will fade.
13. Place the blueprint
paper in another tray of water that contains a couple of tablespoons of
household hydrogen peroxide. This will increase the contrast tremendously.
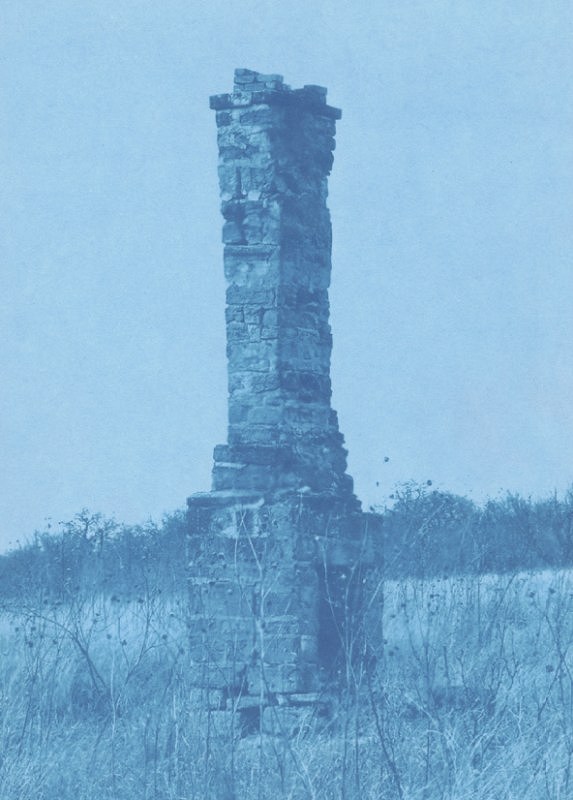
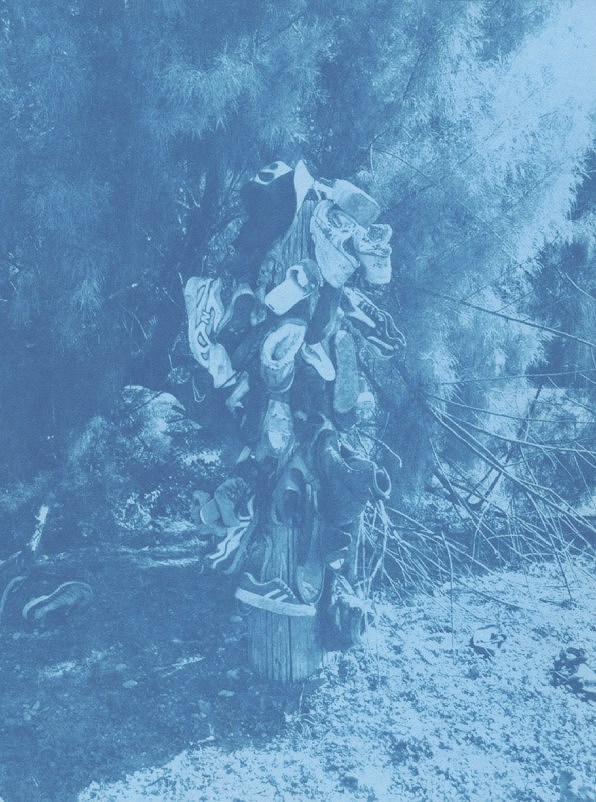
Examples are below. Note
that the pictures are true blue, as the blueprint paper itself is the final
medium, rather than being used as a negative as in the previous pictures.

Back
to My Hobbies
Home

